The Perfect Oil Temperature for Crispy Fried Chicken
Let's cut to the chase. The single most important factor that separates a soggy, greasy mess from that golden, shatteringly crisp fried chicken you dream about is oil temperature. Forget fancy brines or secret spice blends for a second. If your oil isn't hot enough, none of that matters. If it's too hot, you get burnt outsides and raw insides. After years of trial and error (and more than a few disappointing batches), I've nailed it down. The sweet spot for most fried chicken is between 350°F and 375°F (175°C - 190°C). But that's just the headline. The real skill is knowing when to use which end of that range and, more importantly, how to keep it there.
What's Inside: Your Frying Roadmap
- Why Oil Temperature is Non-Negotiable for Fried Chicken
- The Goldilocks Zone: Exact Oil Temperatures for Different Chicken Cuts
- How to Measure Oil Temperature Accurately (Spoiler: Ditch the Guesswork)
- The Inevitable Temperature Drop & How to Manage It
- Beyond Temperature: Common Mistakes That Ruin Your Fry
- Your Fried Chicken Temperature Questions, Answered
Why Oil Temperature is Non-Negotiable for Fried Chicken
Think of hot oil as a high-speed dehydration and sealing machine. When chicken hits oil at the right temperature, something magical happens in milliseconds. The surface moisture violently vaporizes, creating steam that pushes against the oil. This rapid action forms tiny bubbles and, crucially, seals the exterior. That seal is your barrier against oil absorption. It's why properly fried food isn't greasy—the oil can't get in.
Now, let's talk about the two failure modes.
Oil too cold (below 325°F / 160°C): This is the greasy chicken culprit. The reaction is too slow. The oil soaks into the breading before it can set, resulting in a sad, soggy, oil-logged crust. The chicken also cooks slower, which can dry out the meat as it waits for the inside to catch up.
Oil too hot (above 385°F / 195°C): Here, things happen too fast. The outside burns to a bitter, dark brown (or black) before the inside is even warm. You're left with a carcinogenic-tasting shell over raw poultry—a complete waste and a food safety risk.
A subtle mistake I see all the time: People judge temperature by how the breadcrumbs look floating in the oil. If they sizzle, they think it's ready. But breadcrumbs brown at a much lower temperature than what's needed to properly cook chicken. You can have oil at 300°F that will happily brown breadcrumbs but will absolutely ruin your chicken with grease. Never rely on visual breadcrumb tests alone.
The Goldilocks Zone: Exact Oil Temperatures for Different Chicken Cuts
350°F-375°F is the working range, but you should adjust based on what you're frying. Thicker, denser pieces need a slightly lower temperature so the heat has time to travel to the bone without incinerating the coating.
| Chicken Cut | Ideal Starting Oil Temperature | Why This Range Works |
|---|---|---|
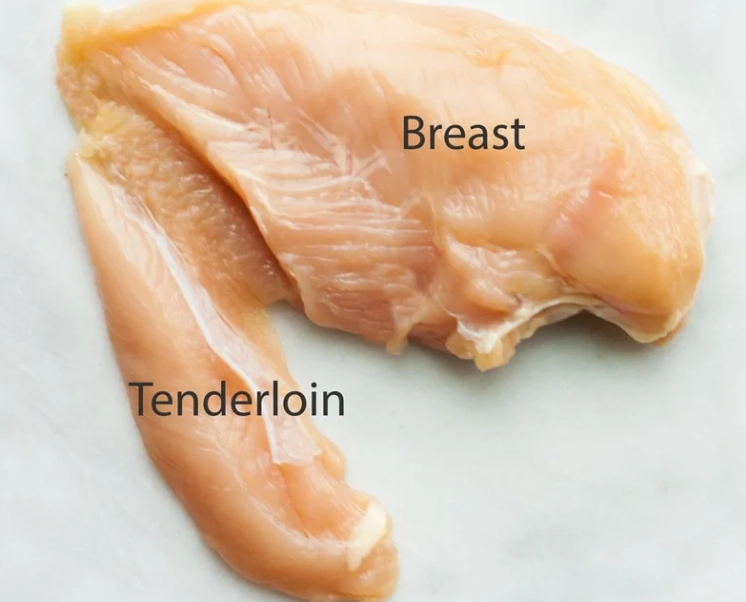
| Boneless, Skinless Thighs or Breasts (cut into strips, nuggets) | 365°F - 375°F (185°C - 190°C) | These are relatively thin and cook quickly. A higher starting temp ensures a fast, crisp seal and prevents oil soakage. Cook time is short, usually 3-5 minutes. |
| Bone-in Drumsticks or Thighs | 350°F - 360°F (175°C - 182°C) | The bone acts as a heat sink, slowing internal cooking. A moderate temp allows the crust to develop golden-brown perfection over the 10-14 minutes needed to cook through safely. |
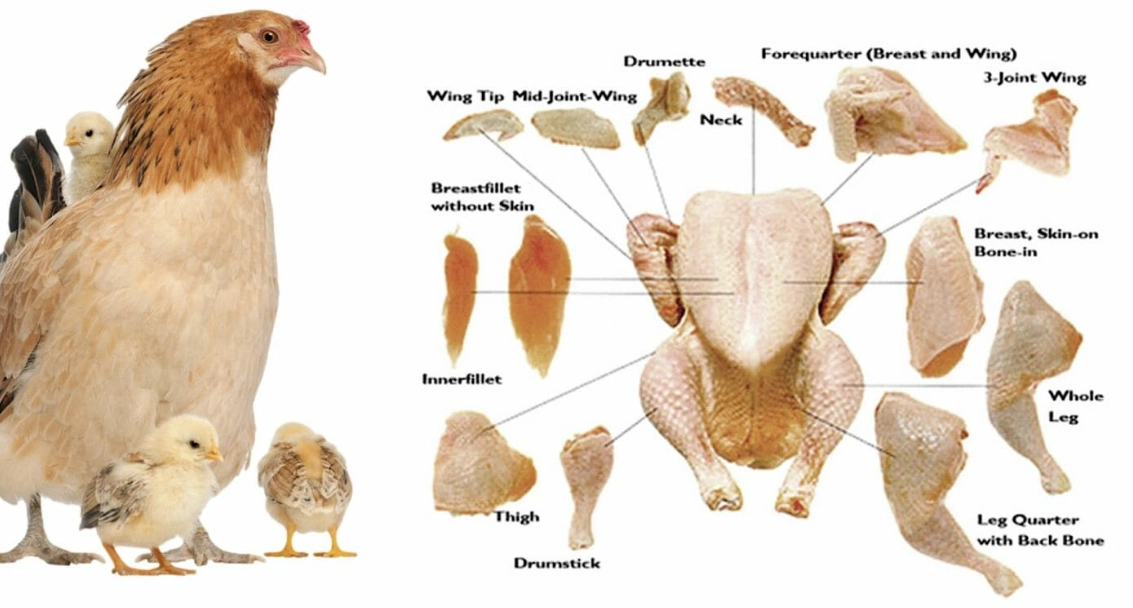
| Whole Wings (flats & drumettes) | 360°F - 370°F (182°C - 188°C) | A good middle ground. Wings have skin and bone but aren't as thick as drumsticks. This temp renders the fat under the skin beautifully for maximum crispiness in 8-10 minutes. |
| Extra-Thick, Family-Style Pieces | 345°F - 355°F (174°C - 179°C) | For those huge country-style cuts. You need patience here. Starting lower prevents the crust from over-browning during the long fry (up to 15-18 minutes). A two-stage fry (fry, rest, refry) works wonders here. |
One personal rule: I always start my oil 5-10 degrees above my target. Why? Because the moment you add cold chicken, the temperature will plummet. Starting at 370°F for wings means they'll hit the oil at the perfect 360°F.
How to Measure Oil Temperature Accurately (Spoiler: Ditch the Guesswork)
If you're serious about frying, guessing is not an option. Here's the gear that matters, from essential to nice-to-have.
The Non-Negotiable: A Good Instant-Read Thermometer. A probe-style digital thermometer is your best friend. Brands like ThermoPop or Thermapen are industry standards for speed and accuracy. Clip the probe to the side of your pot, ensuring the tip is submerged but not touching the bottom. Wait for the reading to stabilize. This is the only way to know your true starting point.
The Classic: A Deep-Fry/Candy Thermometer. These are the glass or metal thermometers that clip to the pot. They work, but they can be slow to react and sometimes harder to read precisely. If it's all you have, it's miles better than nothing.
What about the “wooden spoon” or “bread cube” test? They're folklore. They tell you the oil is hot, not how hot. For baking, maybe. For frying chicken? Don't risk it.
Pro Tip for Even Frying: Before you even heat the oil, take your chicken out of the fridge. Let it sit on the counter for 20-30 minutes to take the chill off. Ice-cold chicken causes a more severe and unpredictable temperature drop, making it harder to manage your fry.
The Battle to Maintain Heat
Your stove's burner power is critical. On a weak electric burner, adding three chicken thighs might drop your oil from 360°F to 290°F, and it may never recover, guaranteeing greasy chicken. You need a burner that can quickly rebound. This is why many chefs prefer gas for frying—immediate, responsive heat.
If your stove is weak, fry in very small batches. Two pieces at a time instead of four. It feels inefficient, but the results are drastically better.
The Inevitable Temperature Drop & How to Manage It
It will happen. The key is to anticipate and control it.
- Don't Crowd the Pot. This is rule number one. Overcrowding is the fastest way to drop your oil temperature into the danger zone. There should be plenty of space for each piece to bubble freely. If they're touching, you've added too many.
- Monitor and Adjust. Keep an eye on that thermometer after adding chicken. If it drops to 325°F, nudge the heat up slightly. Your goal is to keep it as close to your target range as possible throughout the cook.
- Let the Oil Reheat Between Batches. After removing a batch, wait. Let the oil climb back to your original starting temperature (e.g., 370°F) before adding the next. This ensures every batch fries under identical conditions.
I learned this the hard way. I once tried to fry a whole chicken's worth of pieces for a party in two big batches. The second batch was a pale, oily disaster because the oil never recovered. Now I do three or four small batches, and every piece is perfect.
Beyond Temperature: Common Mistakes That Ruin Your Fry
Even with perfect temperature, other factors can trip you up.
Wet Breading: If your flour or breadcrumb coating is damp from the egg wash or buttermilk, it will clump and create steam pockets that lead to uneven cooking and oil splatter. Pat your chicken dry before dredging, and shake off excess wet batter thoroughly.
The Wrong Oil: You need an oil with a high smoke point that won't break down and taste funky at 375°F. Canola, peanut, vegetable, and sunflower oil are all excellent choices. Olive oil (except maybe some refined light olive oils) is a terrible choice for deep-frying chicken.
Not Letting the Breading Set: After dredging, let the coated chicken rest on a wire rack for 5-10 minutes. This lets the coating hydrate and adhere, preventing it from sloughing off in the oil and burning in little bits that will stick to your next batch.
Your Fried Chicken Temperature Questions, Answered
Related Articles